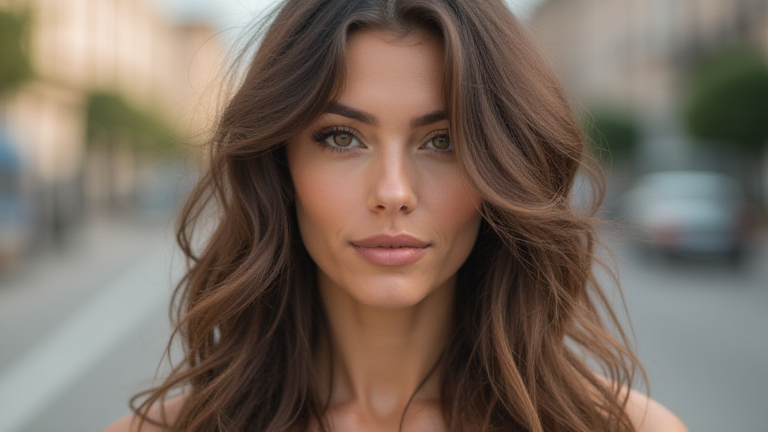
TL;DR: This tutorial walks you through installing, applying, and fine-tuning the new Lightroom preset, focusing on its adaptive masking and color-grading sliders. You’ll learn to use the preset as a starting point, then adjust exposure, white balance, and subject-specific masks to match your unique photo.
Step 1: Install and Locate the Preset
First, download the preset file (usually a .xmp file) to your computer. In Lightroom Classic, go to Edit > Preferences > Presets and click “Show Lightroom Presets Folder.” Drag the .xmp file into the “Develop Presets” folder. For Lightroom CC (cloud version), simply double-click the file to import it, or use the “Import Presets” button in the Presets panel. Restart Lightroom if needed, then open your image in the Develop module.
If you want to dig deeper, check out our guide on Do You Still Need an Agency for AI Visibility?.
Step 2: Apply the Preset as a Base
In the left-hand Presets panel, scroll to the “User Presets” or “Imported Presets” section. Click once on the new preset’s name to apply it. You’ll see immediate changes—typically a lifted black point, slightly desaturated greens, and a soft teal-orange split tone. Don’t panic if it looks too strong; the preset is designed to be a foundation, not the final look.
Step 3: Adjust Global Exposure and White Balance
Go to the Basic panel. Start with Exposure—if your photo was overexposed, drag it down by 0.3–0.5 stops; if underexposed, raise it slightly. Next, check the White Balance eyedropper on a neutral gray area (like a white wall or sidewalk). The preset often warms shadows, so if skin tones look orange, reduce the Temp slider by 200–400 Kelvin. Keep Contrast near the preset’s default—it usually adds a pleasing filmic curve.
Step 4: Fine-Tune the Adaptive Mask (Key New Feature)
This preset includes a built-in subject mask. Click the Masking icon (circle with dots) and select “Subject.” The preset will have already applied a subtle exposure boost to the subject. To refine, click the mask’s “Invert” button to check the background, then use the Subtract brush to remove any mask bleed onto the sky or clothing. Increase the mask’s Clarity slider to +10 for pop, or lower it to −15 for a softer portrait look.
Step 5: Color-Grade with the New Split-Tone Sliders
Scroll to the Color Mixer panel. The preset uses a signature teal shadow and orange highlight. For a more natural look, reduce the Shadow Hue from 210 to 200 and lower the Saturation from 20 to 12. For drama, increase Highlight Hue to 35 and Saturation to 25. Use the Luminance tab to darken blues for the sky (−20) and brighten oranges for skin (+15).
Step 6: Export and Compare
Before exporting, press Y to toggle a before/after view. If the preset feels too heavy, reduce the preset’s overall strength by lowering the Amount slider (found in the Presets panel’s right-click menu) to 80%. Finally, export as JPEG (sRGB, quality 85) or leave as RAW for later edits.
FAQ
Q: Can I use this preset on any photo type?
A: It works best on outdoor portraits and landscape shots with natural light. For low-light indoor photos, reduce the shadow saturation by half to avoid muddy colors.
Q: Why does my preset look different from
Leave a Reply