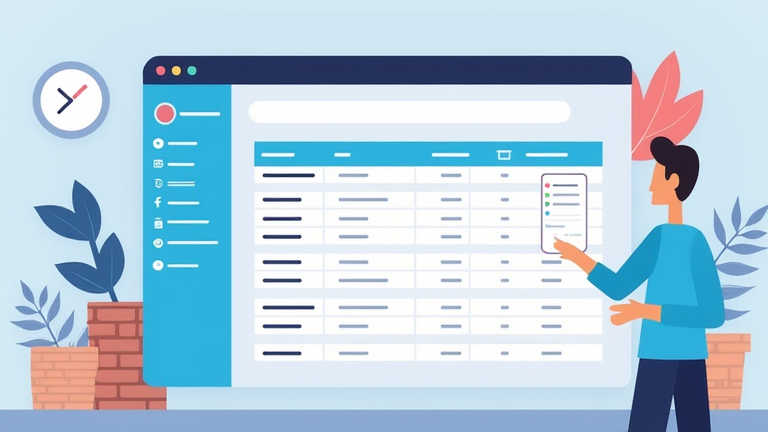
TL;DR: This guide shows you how to build a functional project tracker in Notion using a database, properties, and views. You’ll create a single source of truth for tasks, deadlines, and statuses in under 10 minutes.
Step 1: Create the Database
Open Notion and go to the page where you want your tracker. Type /database and select “Table – Full page” (or “Inline” if you prefer it embedded). Name it “Project Tracker.” This creates your base database. If you already have a table, skip ahead—but for a fresh tracker, start here.
If you want to dig deeper, check out our guide on Hollywood Creatives Train AI to Replace Themselves: A Profes.
Step 2: Add Essential Properties
Click the “+” at the top-right of your table to add columns (properties). You need at least these five:
• Status (Select type): Options like “Not Started,” “In Progress,” “Blocked,” “Done.”
• Priority (Select type): “Low,” “Medium,” “High,” “Urgent.”
• Due Date (Date type): For deadlines. Enable “End date” if tasks span multiple days.
• Owner (Person type): Assign team members.
• Progress (Number or Formula type): Use a number 0–100, or a formula like if(prop("Status") == "Done", 100, 0) for automation.
Tip: Rename the default “Tags” column to “Category” (e.g., Design, Dev, Marketing) to group tasks later.
Step 3: Enter Sample Data
Click inside the first row under “Name” and type a task, e.g., “Design landing page.” Fill in the properties: set Status to “In Progress,” Priority to “High,” Due Date to a future date, and Owner to yourself. Add 3–5 more tasks to test different statuses and priorities.
Step 4: Create Views for Better Visibility
Click the “+” next to your current view name (e.g., “Table”) to add views. Recommended:
• Board view: Group by “Status” to see tasks move from left to right. Click “+ Add view” → “Board” → Group by “Status.”
• Calendar view: Group by “Due Date” for a timeline. Perfect for deadlines.
• List view: Filter by “Owner” to see only your tasks. Use the filter button (funnel icon) → Add filter → Owner → is → [Your name].
Tip: Save each view with a specific filter—e.g., “My Urgent Tasks” (Owner = you, Priority = Urgent).
Step 5: Add Automation (Bonus)
Click “Automate” (top right) to set a rule: When Status becomes “Done,” move the Due Date to today (or clear it). Or, when a new row is added, set Status to “Not Started” automatically. This keeps data clean without manual edits.
Step 6: Sort and Filter Your Tracker
Click the “Sort” button (arrow icon) to sort by Due Date (ascending) so overdue tasks appear first. Then add a filter: Status ≠ “Done” to hide completed tasks in your main view. This gives you an immediate “what’s left” list.
FAQ
Q: Can I share this tracker with my team?
A: Yes. Click “Share” in the top-right of the page, add your team members’ emails, and set permissions to “Can edit.” They’ll see the same database live.
Q: How do I make a progress bar?
A: Add
Leave a Reply