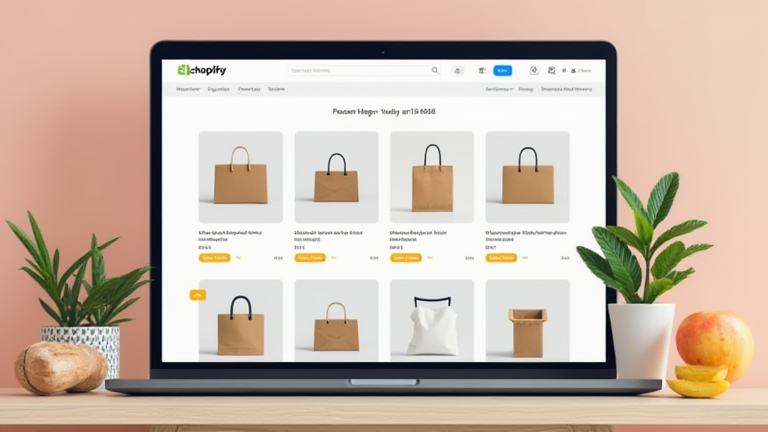
TL;DR: To build your first Shopify dropshipping store, sign up for a Shopify plan, install a dropshipping app like DSers or Zendrop, add products from AliExpress or CJdropshipping, and set competitive prices. Then, customize a clean theme, write compelling product descriptions, and launch with a basic marketing push on social media.
Step 1: Set Up Your Shopify Store
Go to shopify.com and start a 14-day free trial (no credit card required). Choose a store name that is short, memorable, and related to your niche (e.g., “UrbanGearHub” for gadgets). After creating your account, skip the setup wizard’s optional steps for now—you’ll customize later. Head to Settings → Payments and activate Shopify Payments (or PayPal) to accept customer money. Set your store currency to match your target audience (e.g., USD for US customers).
If you want to dig deeper, check out our guide on Sugary Drinks Linked to Stomach Cancer.
Step 2: Install a Dropshipping App
From your Shopify admin, go to Apps → Visit Shopify App Store. Search for DSers (free tier is enough to start) or Zendrop (easier for beginners). Install the app and connect it to your Shopify store. These apps let you import products, automate order fulfillment, and track inventory. For this guide, we’ll use DSers—click “Add App” and follow the prompt to log in with your AliExpress account (create one if you don’t have it).
Step 3: Find Winning Products
In DSers, click Import List, then search AliExpress for products that solve a problem, are under $10–$15 cost, and have 4.5+ star ratings with at least 500 orders. Look for items with fast shipping (e.g., “ePacket” or “US local warehouse” badges). Avoid electronics with firmware issues or fragile glass items. A good example: a portable phone stand with a built-in cable. Once found, click “Add to Import List,” then “Import to Store” from DSers.
Step 4: Price for Profit
Your selling price should be 2.5–3x your product cost to cover ads, fees, and returns. For example, if a product costs $5, sell it for $15–$18. In Shopify, edit the product and set the price. Add a “Compare at” price (e.g., $25) to show a fake discount. Also, set shipping to “Free” if the product cost is low; this increases conversion rates. Update the product title to include benefits (e.g., “2024 Portable Phone Stand with Fast Charging Cable”).
Step 5: Customize Your Store Theme
Go to Online Store → Themes and click “Customize.” Choose a free theme like Dawn (fast and clean). Delete the default homepage sections—keep only a hero banner (text overlay), a “Featured Collection” section, and a “Newsletter” signup. Use a simple color palette (white + one accent color). Write a short hero headline: “Upgrade Your Desk for Less.” Then, add your imported products to a collection called “Best Sellers.” Ensure your product pages have clear “Add to Cart” buttons and trust badges (e.g., “30-Day Returns” via a text box).
Step 6: Launch and Test
Before going public, place a test order yourself using a fake name and your own address (then cancel it). Check the checkout flow on mobile. Set up your domain (buy a custom one like yourstore.com for $14/year) and connect it in Settings → Domains. Finally, share your store on TikTok, Instagram Reels, or Facebook groups—post a
Leave a Reply