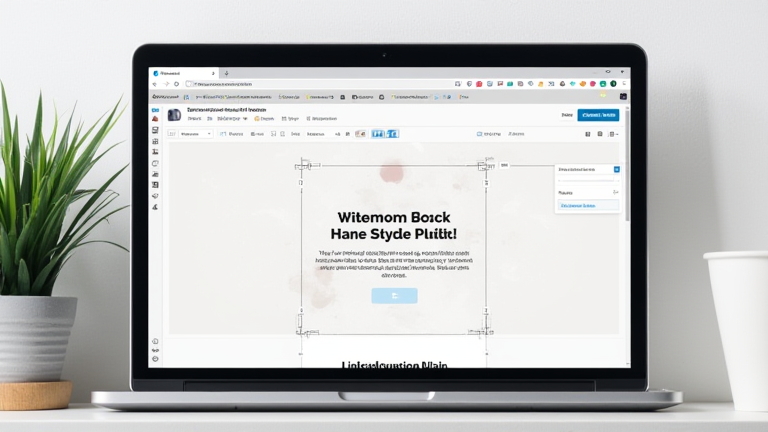
TL;DR: Use the WordPress Block Editor (Gutenberg) to build a custom landing page by stacking full-width blocks like Cover, Columns, and Buttons. Set a static front page under Settings → Reading, then design with group blocks for layout control—no page builder plugin needed.
1. Set Up a Blank Canvas
Create a new page (Pages → Add New). In the top-right settings panel, choose “Full width” under Template, and set “No title” under Page Attributes to hide the default heading. This gives you a clean slate. For a true landing page, go to Settings → Reading and select “A static page” — assign this new page as your homepage.
If you want to dig deeper, check out our guide on AI Agents Automate Complex Enterprise Workflows.
2. Build the Hero Section
Click the “+” button and search for “Cover.” Upload a background image (or use a solid color gradient) and add a Heading block inside it. Write a punchy headline, then add a Paragraph for subtext. Below that, insert a Buttons block — make the primary button “Get Started” and link it to your signup form. Tip: Set the Cover’s height to “Full screen” for an immersive first impression.
3. Add a Feature Grid with Columns
Insert a Columns block and choose “3 columns.” In each column, add an Icon (from the block library) or a simple Heading + Paragraph. Keep text short — 10 words max per feature. Use the “Spacer” block between sections to add breathing room. For alignment, select the entire Columns group and set “Align wide” in the toolbar.
4. Create a Social Proof Band
Add a Group block with a subtle background color (e.g., light gray). Inside it, insert a Paragraph with centered text: “Trusted by 10,000+ marketers.” Then add a Shortcode block if you use a logo carousel plugin, or simply list company names as text in a single Paragraph with line breaks. Avoid images to keep load time fast.
5. Insert a Call-to-Action (CTA) Section
Duplicate your hero by right-clicking the Cover block and selecting “Duplicate.” Swap the headline to “Ready to Start?” and change the button text to “Claim Your Free Trial.” Reduce the height to 50% and add a subtle overlay for contrast. Tip: Use the “Lock” feature (click the three dots on the block) to prevent accidental edits.
6. Style with Spacing and Colors
Click on any block, then use the right-hand panel to adjust margins, padding, and typography. Set global styles by clicking the “Styles” icon (top-right) — choose a brand color palette and font pair. For mobile responsiveness, toggle the preview icon (smartphone/tablet) to check that columns stack correctly.
7. Publish and Test
Hit “Publish,” then open the page in an incognito window. Click every button and link. Use the browser’s inspect tool to check for overflow issues. If something breaks, revert to the landing page’s “Revisions” in the right panel.
FAQ
Q: Do I need a page builder plugin for this?
A: No — the native Block Editor handles full-width layouts, columns, and CTAs. For advanced interactions (e.g., animations), add a lightweight plugin like “GenerateBlocks” only if necessary.
Q: How do I make the landing page rank on Google?
A: Add a SEO plugin like RankMath, set a meta description, and use Heading blocks (H2, H3) for keyword-rich subheadings. Ensure your page loads under 2 seconds by compressing images and using a caching plugin.
Q: Can I reuse this layout for future pages?
A: Yes — click the three dots (top-right) → “Add to Reusable Blocks.” Name it “Landing Template,” then insert it into any new page and edit
Leave a Reply